 Frequently Asked Questions
 Videos
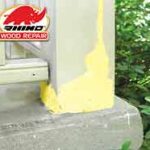 Colourful Chemist cooks up wood-repair product
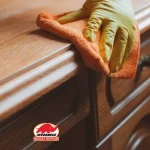 Custom Adhesive Epoxies & Formulations
 THE SIMPLE SOLUTION TO A DIFFICULT PROBLEM.
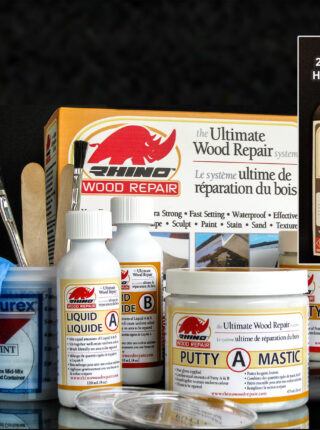
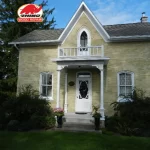
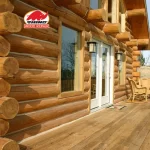 Rhino Wood Repair for Log Homes Looking to combat wood rot on your log home? Enter Rhino Wood Repair — the vanguard of wood restoration, with a legacy spanning over three decades. Led by Robin Pixner, a visionary in the field of wood preservation, our mission is simple yet profound: to breathe new life into aging wood, to fortify its strength, and to ensure that the legacy of log homes endures for generations to come.
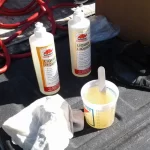 Wood Epoxy
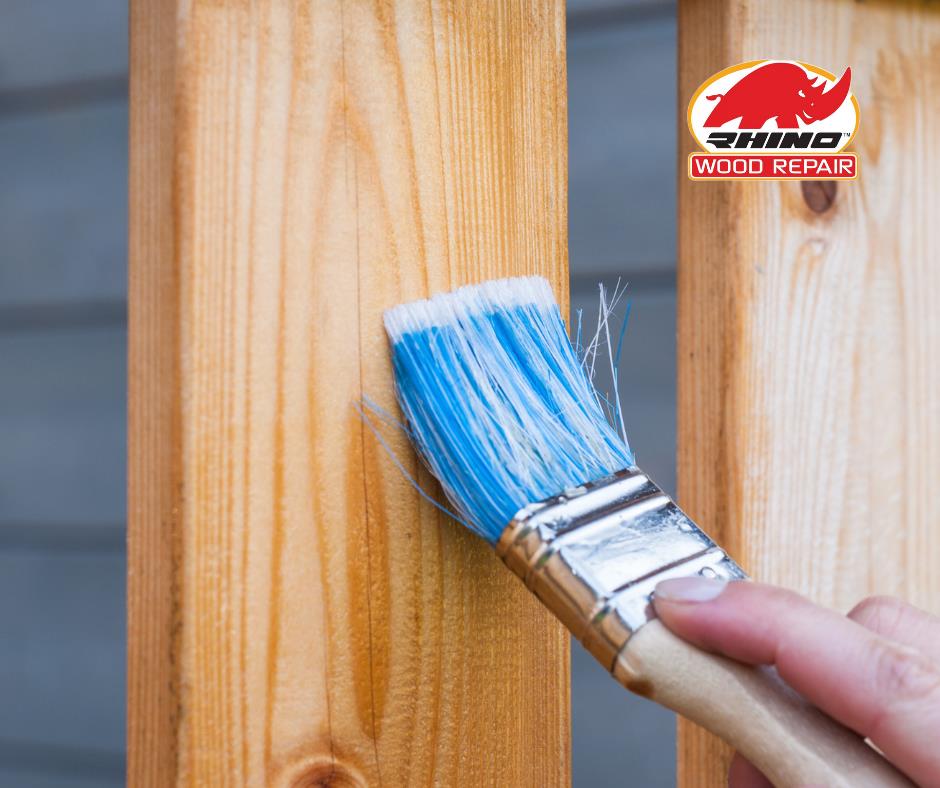
If you have an old fence that’s been weathered by the elements, you might be wondering if it’s possible to give it a fresh new look with a coat of stain. While staining an old fence is certainly an option, there are a few important factors to consider to ensure the best possible results. In this comprehensive guide, we’ll explore the steps involved in staining an old fence, the benefits of using a quality stain, and how incorporating Rhino Wood Repair products can significantly enhance the protection and longevity of your fence.
Preparing an Old Fence for Staining
Before you can apply a new stain to your old fence, proper preparation is crucial for optimal adhesion and long-lasting results:
Cleaning and Stripping
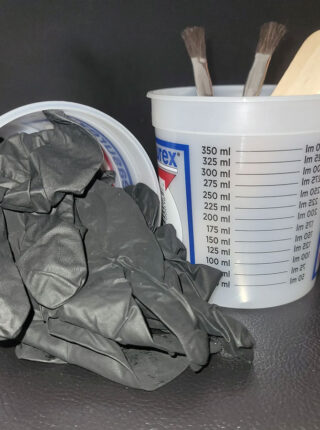
- Thoroughly clean the fence surface to remove dirt, grime, and any loose or peeling paint or stain.
- Use a chemical stripper or sanding to remove any remaining old stain or paint, ensuring a clean, bare wood surface.
Addressing Damage and Repairs
- Inspect the fence for any damaged, rotted, or loose boards and replace them as needed.
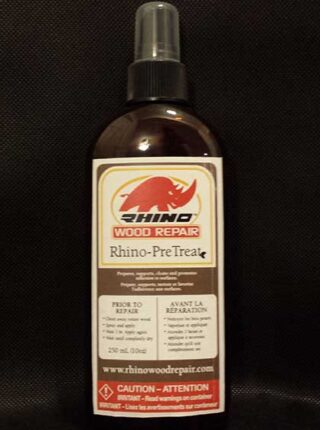
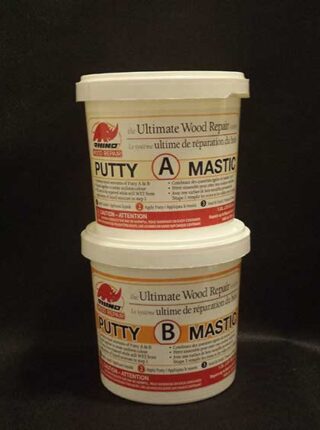
- Consider incorporating Rhino Wood Repair products to address any weakened or damaged wood before staining, ensuring a strong and durable foundation.
Sanding and Final Preparation
- Sand the entire fence surface to create a rough texture for better stain adhesion.
- Remove any remaining dust or debris from the sanding process.
Choosing the Right Stain for Fence
When it comes to staining an old fence, selecting the right stain is crucial for achieving the desired look and longevity. Here are some factors to consider:
Stain Types
- Oil-based stains: Provide superior penetration and water repellency but can be more difficult to apply and maintain.
- Water-based stains: Easier to apply and clean up, but may not offer the same level of protection as oil-based stains.
- Semi-transparent stains: Allow the natural wood grain to show through while providing some UV protection.
- Solid stains: Offer a more opaque finish and better UV protection but can obscure the wood’s natural beauty.
Stain Colours and Finishes
Consider the desired final look for your fence and choose a stain color and finish that complements your home’s exterior and landscaping.
The Benefits of Using Rhino Wood Repair Products Before Staining
While staining an old fence can breathe new life into its appearance, addressing any underlying wood damage is crucial for long-lasting results. This is where Rhino Wood Repair products can make a significant difference:
- Strengthen Weakened Wood: Rhino Wood Repair products are formulated to penetrate deep into the wood fibers, strengthening and reinforcing weakened or damaged areas.
- Enhance Stain Adhesion: By addressing any underlying wood issues, Rhino Wood Repair products create a solid foundation for the stain to adhere to, ensuring better protection and longevity.
- Extend the Life of Your Fence: By incorporating Rhino Wood Repair products into your fence maintenance routine, you can significantly extend the lifespan of your fence, reducing the need for frequent replacements and saving you money in the long run.
FAQs about Staining Old Fences
How long will a stained fence last?
The longevity of a stained fence depends on various factors, including the quality of the stain, the fence’s exposure to the elements, and the condition of the wood. With proper preparation, high-quality stain, and regular maintenance, a stained fence can last anywhere from 3-5 years before requiring a fresh coat.
Can I stain over an old, weathered fence?
While it’s possible to stain over an old, weathered fence, it’s generally not recommended. The old stain or paint should be removed first to ensure proper adhesion and penetration of the new stain.
Can I use the same stain on both wood and vinyl fences?
No, it’s important to use stains specifically formulated for the type of material you’re working with. Wood stains are not suitable for vinyl fences and vice versa.
How long do I need to wait before staining a new fence?
It’s generally recommended to wait at least 6 months before staining a new, pressure-treated wood fence. This allows the wood to dry and cure properly, ensuring better stain penetration and adhesion.
Top Tips for Staining an Old Fence:
- Thoroughly clean and prepare the fence surface for optimal stain adhesion.
- Address any damaged or weakened wood with Rhino Wood Repair products before staining.
- Choose a high-quality, reputable stain suitable for your climate and exposure conditions.
- Follow the manufacturer’s instructions carefully for proper application and coverage rates.
- Maintain your stained fence by regularly cleaning, inspecting, and re-staining as needed.
About the Author
This comprehensive guide on staining an old fence was brought to you by Rhino Wood Repair, a company dedicated to providing top-quality wood repair solutions. Our founder and chemist, Robin Pixner, has years of experience in the industry and a passion for helping homeowners and professionals alike achieve flawless woodwork.
At Rhino Wood Repair, we understand the importance of preserving the beauty and longevity of wood surfaces. Our products are carefully formulated to ensure exceptional results, whether you’re tackling a small DIY project or a large-scale restoration.
With our expertise and commitment to excellence, you can trust Rhino Wood Repair to provide you with the knowledge and tools you need to tackle any wood repair project with confidence. Visit our website or contact us today to learn more about our innovative wood repair solutions. Best products for people wondering can I stain an old fence?