 Frequently Asked Questions
 Videos
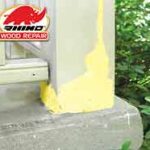 Colourful Chemist cooks up wood-repair product
 Custom Adhesive Epoxies & Formulations
 THE SIMPLE SOLUTION TO A DIFFICULT PROBLEM.
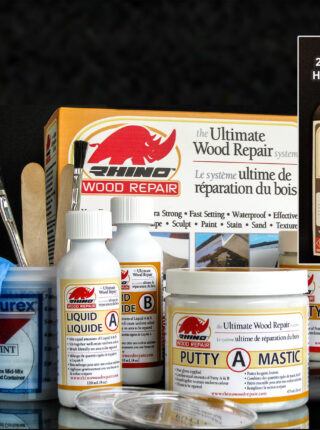
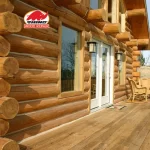 Rhino Wood Repair for Log Homes Looking to combat wood rot on your log home? Enter Rhino Wood Repair — the vanguard of wood restoration, with a legacy spanning over three decades. Led by Robin Pixner, a visionary in the field of wood preservation, our mission is simple yet profound: to breathe new life into aging wood, to fortify its strength, and to ensure that the legacy of log homes endures for generations to come.
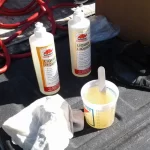 Wood Epoxy
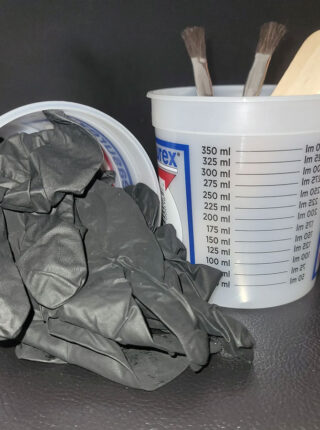
Are you dealing with unsightly holes, cracks, or dents in your wood surfaces? Don’t let them ruin the beauty of your woodwork! Applying wood filler is an easy and cost-effective solution to restore the smooth and flawless appearance of your wooden furniture, floors, or trim. In this comprehensive guide, we’ll walk you through the process of choosing the right wood filler and applying it like a pro.
Understanding Wood Filler
What is Wood Filler?
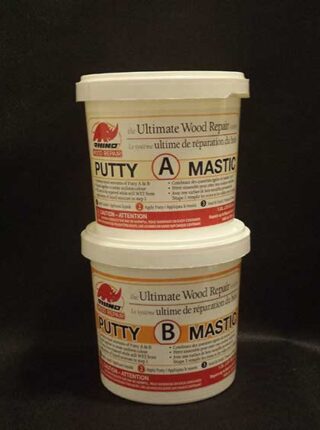
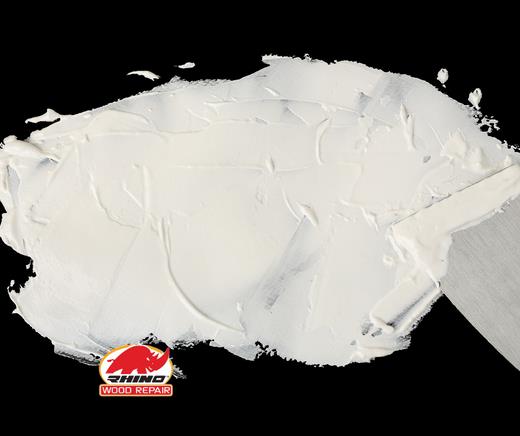
Wood filler is a putty-like compound designed to fill gaps, holes, and imperfections in wood surfaces. It’s typically made from a combination of wood fibers, resins, and other additives, allowing it to blend seamlessly with the surrounding wood once dry.
Types of Wood Filler
Not all wood fillers are created equal. Here are some common types:
- Water-based: Easy to clean up and environmentally friendly.
- Solvent-based: Stronger and more durable, but with a stronger odor.
- Epoxy-based: Ideal for larger holes and cracks, as it dries rock-hard.
- Stainable: Designed to accept stains and finishes for a seamless match.
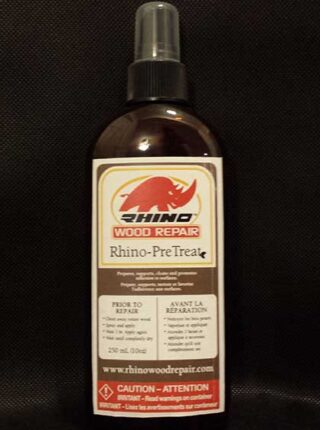
Preparing the Surface
Proper surface preparation is crucial for successful wood filler application. Here are the steps to follow:
- Clean the area: Remove any loose debris, dust, or dirt from the surface using a vacuum or a clean cloth.
- Sand the area: Lightly sand the surface around the imperfection to create a smooth transition and help the wood filler adhere better.
- Remove any debris: Vacuum or wipe away any remaining dust or debris from the sanding.
Applying the Wood Filler
Now that your surface is prepped, it’s time to apply the wood filler. Follow these steps for a flawless finish:
- Read the manufacturer’s instructions carefully for any specific application guidelines.
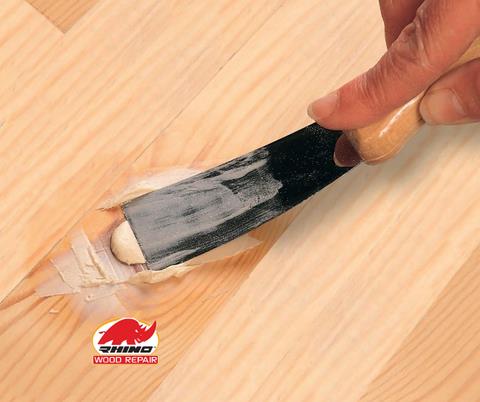
- Scoop out a small amount of wood filler onto a putty knife or a piece of cardboard.
- Press the wood filler firmly into the imperfection, ensuring it fills the gap completely.
- Use a putty knife or your finger to smooth the wood filler flush with the surrounding surface.
- Allow the wood filler to dry completely according to the manufacturer’s instructions.
Sanding and Finishing
Once the wood filler has fully dried, it’s time to sand and finish the surface:
- Lightly sand the area with fine-grit sandpaper (220-grit or higher) to create a smooth, even surface.
- Wipe away any remaining dust or debris.
- If desired, apply a stain or finish to the area to match the surrounding wood.
FAQs about Wood Filler
Can I use wood filler on exterior surfaces?
While some wood fillers are designed for exterior use, it’s generally recommended to use an exterior-grade wood filler or epoxy for outdoor projects to ensure long-lasting durability.
How long does wood filler take to dry?
Drying times can vary depending on the type of wood filler, humidity, and temperature conditions. Water-based wood fillers typically dry within 1-2 hours, while solvent-based and epoxy fillers may take several hours or overnight to fully cure.
Can I stain over wood filler?
Yes, many wood fillers are designed to accept stains and finishes. However, it’s essential to choose a stainable wood filler if you plan on staining the area to ensure a seamless match.
How do I clean up excess wood filler?
Excess wood filler can be removed before it dries using a damp cloth or mineral spirits (for solvent-based fillers). Once dried, sanding is the best way to remove any excess or smooth out the surface.
Top Tips for Applying Wood Filler:
- Work in multiple thin layers for deeper imperfections.
- Use a putty knife or your finger to smooth the wood filler flush with the surrounding surface.
- Allow the wood filler to dry completely before sanding or finishing.
- Sand in the direction of the wood grain for a seamless finish.
- Always follow the manufacturer’s instructions for best results.
About the Author
This comprehensive guide on applying wood filler like a pro was brought to you by Rhino Wood Repair, a company dedicated to providing top-quality wood repair solutions. Our founder and chemist, Robin Pixner, has years of experience in the industry and a passion for helping homeowners and professionals alike achieve flawless woodwork.
At Rhino Wood Repair, we understand the importance of preserving the beauty and longevity of wood surfaces. Our products are carefully formulated to ensure exceptional results, whether you’re tackling a small DIY project or a large-scale restoration.
With our expertise and commitment to excellence, you can trust Rhino Wood Repair to provide you with the knowledge and tools you need to tackle any wood repair project with confidence. Visit our website or contact us today to learn more about our innovative wood repair solutions. See our wood rot repair treatments here.