RHINO WOOD REPAIR KIT
Wood Furniture Repair
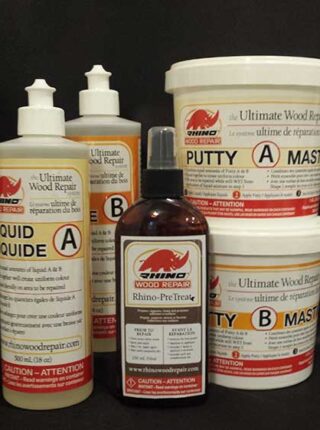
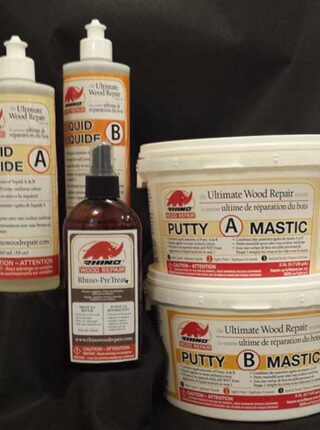
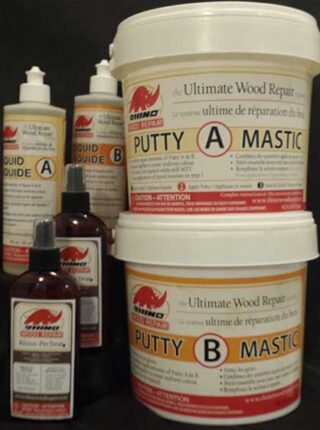
Welcome to the ultimate solution for restoring damaged wood — the Rhino Wood Repair Kit. This all-in-one kit is meticulously crafted to address a wide range of wood damage, from scratches and surface imperfections to deep rot and decay. With a multi-step process and premium quality materials, the Rhino Wood Repair Kit empowers you to breathe new life into your cherished wooden assets with ease and precision.
Common Causes of Wood Furniture Damage
Scratch and Surface Damage Repair
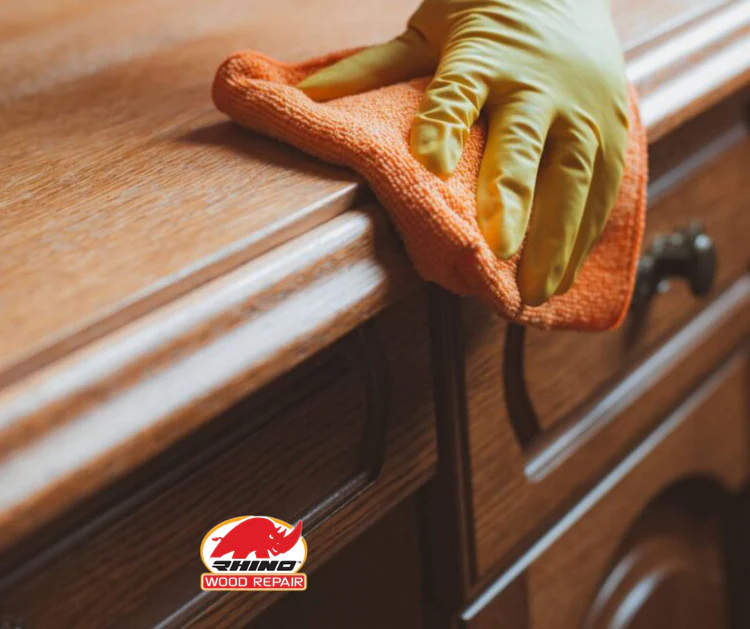
One of the most common needs for furniture repair involves addressing scratches, dents, and surface imperfections. Over time, wood furniture can accumulate minor damages from everyday use, such as moving objects or accidental impacts.
Structural Reinforcement for Cracks and Voids
Cracks, splits, and voids in wood furniture can compromise its structural integrity and diminish its lifespan. Repairing these issues is crucial to preventing further damage and preserving the functionality of the furniture piece.
Weathering and Environmental Damage Protection
Wood furniture is susceptible to damage from environmental factors such as moisture, humidity, and sunlight exposure. Over time, these elements can cause wood to warp, fade, or deteriorate, leading to unsightly damage and deterioration.
Wood Furniture Repair
Top Rated Products
Frequently Asked Questions
How to Repair Rotted Wood Furniture
- Assess the Extent of Damage:
Begin by thoroughly inspecting the rotted wood furniture to determine the extent of the damage. Identify areas of decay, weakened structural components, and any signs of moisture or fungal growth. - Remove Rotted Wood:
Carefully remove the rotted wood using a chisel, sandpaper, or other appropriate tools. Be sure to remove all decayed material until you reach sound, healthy wood. - Treat with Wood Hardener:
Apply a wood hardener or consolidant to the remaining sound wood to strengthen and stabilize it. The wood hardener penetrates deep into the wood fibers, reinforcing the structural integrity of the affected area. - Fill and Repair:
Use a wood filler or epoxy resin to fill in the voids and gaps left by the rotted wood. Apply the filler or resin according to the manufacturer’s instructions, ensuring thorough coverage and a smooth finish. - Sand and Smooth:
Once the filler or resin has cured, sand the repaired area to smooth out any rough spots and blend it seamlessly with the surrounding wood surface. - Finish and Protect:
Apply a wood finish or sealant to protect the repaired area from moisture, UV rays, and other environmental factors. Choose a finish that matches the existing finish on the furniture for a cohesive look.
How to repair a scratch on wood furniture?
- Clean the Area: Begin by cleaning the scratched area of the wood furniture with a mild soap and water solution. This will remove any dirt or debris that may be present and ensure a clean surface for the repair.
- Assess the Depth of the Scratch: Determine the depth of the scratch by running your finger over it. If the scratch is shallow and only affects the surface finish, it can be repaired relatively easily. Deeper scratches that penetrate the wood may require more extensive repair.
- Apply Wood Filler or Scratch Repair Product: For shallow scratches, apply a wood filler or scratch repair product directly to the affected area. Use a putty knife or a clean, soft cloth to spread the filler evenly over the scratch, ensuring that it fills the entire area.
- Smooth and Blend: After applying the wood filler, use a fine-grit sandpaper to gently sand the repaired area. This will smooth out any excess filler and blend it with the surrounding wood surface. Be careful not to sand too aggressively, as this can damage the finish.
How to repair antique wood furniture?
- Assessment:
Begin by assessing the condition of the antique wood furniture. Identify any areas of damage, including scratches, cracks, chips, or missing pieces. Take note of the type of wood and the finish used on the furniture. - Cleaning:
Clean the surface of the antique furniture gently using a mild soap and water solution or a specialized wood cleaner. Use a soft cloth to remove dirt, dust, and grime, being careful not to damage the wood or any delicate features. - Repairing Scratches and Surface Damage:
For minor scratches and surface damage, use a fine-grit sandpaper to lightly sand the affected area. Be careful not to sand too aggressively, as this can further damage the wood. Once the surface is smooth, apply a matching wood polish or wax to restore the finish and hide minor imperfections. - Repairing Structural Damage:
If the antique furniture has structural damage such as loose joints or broken pieces, it may require more extensive repair. Use wood glue to reattach loose joints and clamps to hold them in place while the glue dries. For broken pieces, carefully align the edges and use wood glue to bond them back together. Reinforce the repaired area with wood dowels or splints if necessary. - Filling Gaps and Voids:
Use a wood filler or epoxy resin to fill in any gaps, voids, or missing pieces in the antique furniture. Choose a filler that closely matches the color and grain of the surrounding wood for a seamless repair. Apply the filler according to the manufacturer’s instructions, and allow it to dry completely before sanding and refinishing. - Refinishing:
Once the repairs are complete, consider refinishing the antique furniture to restore its original beauty and luster. Choose a finish that complements the style and era of the piece, such as shellac, varnish, or lacquer. Apply the finish evenly using a brush or cloth, and allow it to dry thoroughly before buffing to a smooth, glossy sheen. - Preservation:
Finally, take steps to preserve the restored antique furniture for future generations. Avoid placing it in direct sunlight or near heat sources, as this can cause the wood to fade or warp over time. Regular dusting and occasional polishing will help maintain its beauty and integrity for years to come.
How to repair chips in wood furniture?
- Clean the Area:
Start by cleaning the chipped area of the wood furniture using a mild soap and water solution. This will remove any dirt, dust, or debris that may be present and ensure a clean surface for the repair. - Assess the Damage:
Examine the chip to determine its size and depth. If the chip is small and shallow, it can usually be repaired using wood filler. Deeper or larger chips may require more extensive repair. - Fill the Chip with Wood Filler:
Apply wood filler to the chipped area using a putty knife or a small spatula. Press the filler firmly into the chip, ensuring that it completely fills the space and is level with the surrounding wood surface. - Smooth the Surface:
Once the filler has dried, use fine-grit sandpaper to smooth the repaired area. Sand in the direction of the wood grain to blend the filler with the surrounding wood surface and create a seamless finish. - Stain or Finish:
If necessary, apply a matching stain or finish to the repaired area to help it blend in with the rest of the furniture. Use a small brush or cloth to apply the stain or finish evenly, and allow it to dry completely before using the furniture. - Buff and Polish:
Once the stain or finish has dried, buff the repaired area with a soft cloth to remove any excess material and polish the surface to a smooth, glossy finish.
 Frequently Asked Questions
 Videos
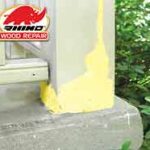 Colourful Chemist cooks up wood-repair product
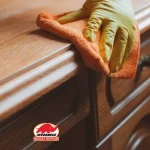 Custom Adhesive Epoxies & Formulations
 THE SIMPLE SOLUTION TO A DIFFICULT PROBLEM.
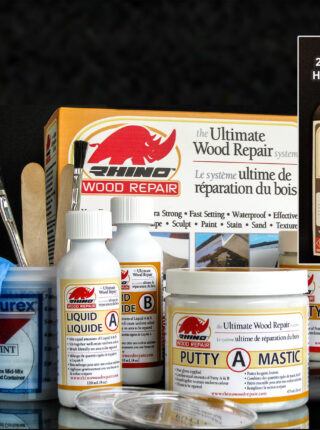
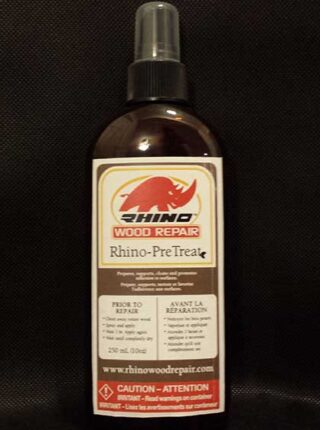
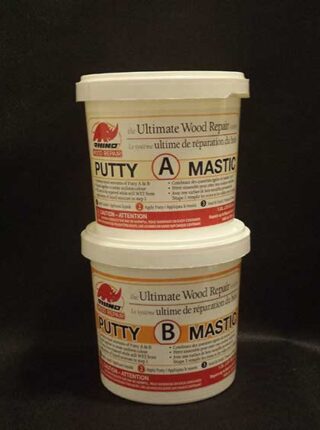
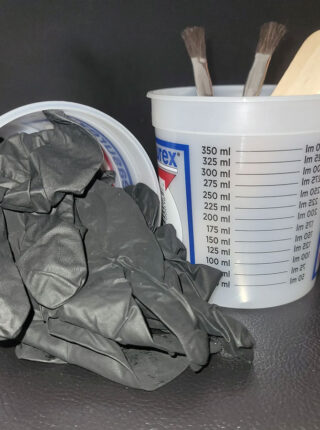
 Rhino Wood Repair for Log Homes Looking to combat wood rot on your log home? Enter Rhino Wood Repair — the vanguard of wood restoration, with a legacy spanning over three decades. Led by Robin Pixner, a visionary in the field of wood preservation, our mission is simple yet profound: to breathe new life into aging wood, to fortify its strength, and to ensure that the legacy of log homes endures for generations to come.
 Wood Epoxy
