Rhino Wood Repair is the easy and fast process to make wood repairs from start to finish
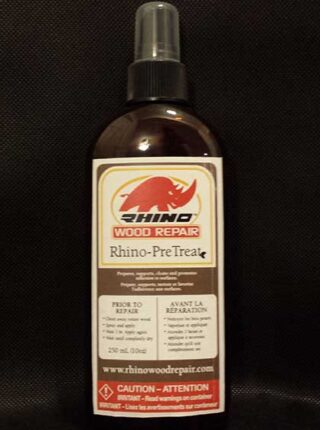
Pre-treatment Instructions (Rhino-PreTreat)
Following these instructions for the best possible results.
- Identify the damaged area.
- Clean out and remove damaged and decayed wood.
- Spray or apply Rhino-PreTreat into and around area to be permanently repaired.
- It may be wise to drill 3/8”-1/2” holes around the damaged area. These should be 2” away from damaged area.
- Spray or pour Rhino-PreTreat into holes.
- After 60 minutes apply a second treatment with Rhino-PreTreat. Let sit for 24 hours before permanent repair.
Repair Instructions
Following these instructions for the best possible results.
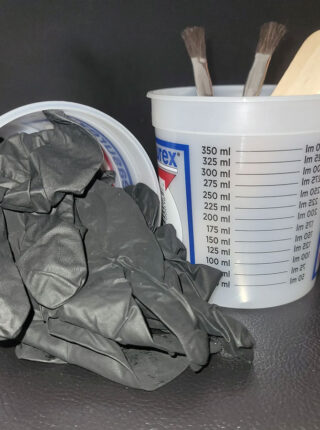
- Always wear disposable nitrile gloves and safety glasses prior to your permanent repair. Ensure area to be repaired is completely dry and free of loose debris, grease, oil and contaminants.
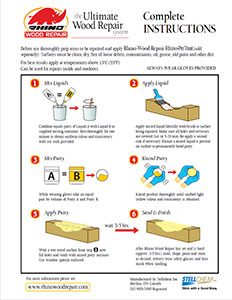
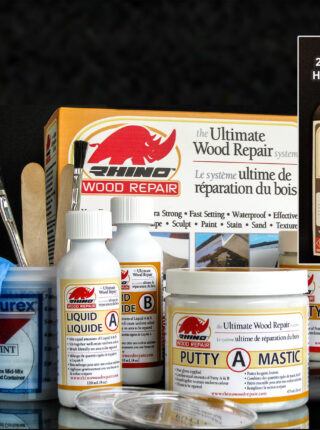
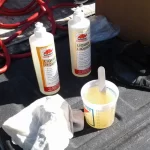
- Take equal amounts of liquid A and liquid B. Mix thoroughly for 60 seconds with a stir stick.
- With a brush, apply mixed liquid onto surface of area being repaired (and drilled holes). Let product sit for 5-10 minutes. (The liquid will petrify any decayed or damaged wood that was missed. Also, it acts as a permanent adhesive between the wood and putty)
- Depending on the absorption into the wood, a second coating of mixed liquid may be required. Let sit for 5-10 minutes.
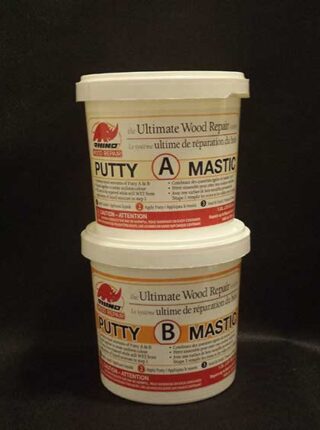
- Wearing gloves, take equal amounts of putty A and putty B. Mix/knead thoroughly until a uniform yellow colour is reached. Ensure there are no white or yellow streaks are present. If streaks are present continue to mix thoroughly uniform colour is reached.
- Apply mixed putty into damaged area (and drilled holes). Ensure intimate contact between liquid coated areas.
- Let product cure. This can take 3-5 hours or longer depending on temperature and amount of putty applied. It may be recommended to let product sit for 24 hours.
- Wearing protective glasses and dust mask, sand permanent repair before painting or staining.
- If an additional repair is required on top of this repair, repeat steps 7 through 14.
Click image to see Rhino-PreTreat PRINT VERSION instructions.
Click image above to open up 2 page pdf PRINT VERSION of Complete Instructions.
Our Commitment is creating the best products possible!
 Frequently Asked Questions
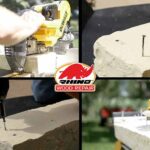 Videos
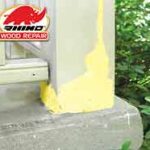 Colourful Chemist cooks up wood-repair product
 Custom Adhesive Epoxies & Formulations
 THE SIMPLE SOLUTION TO A DIFFICULT PROBLEM.
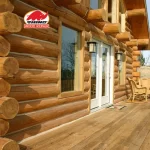 Rhino Wood Repair for Log Homes Looking to combat wood rot on your log home? Enter Rhino Wood Repair — the vanguard of wood restoration, with a legacy spanning over three decades. Led by Robin Pixner, a visionary in the field of wood preservation, our mission is simple yet profound: to breathe new life into aging wood, to fortify its strength, and to ensure that the legacy of log homes endures for generations to come.
 Wood Epoxy

